Woodcraft
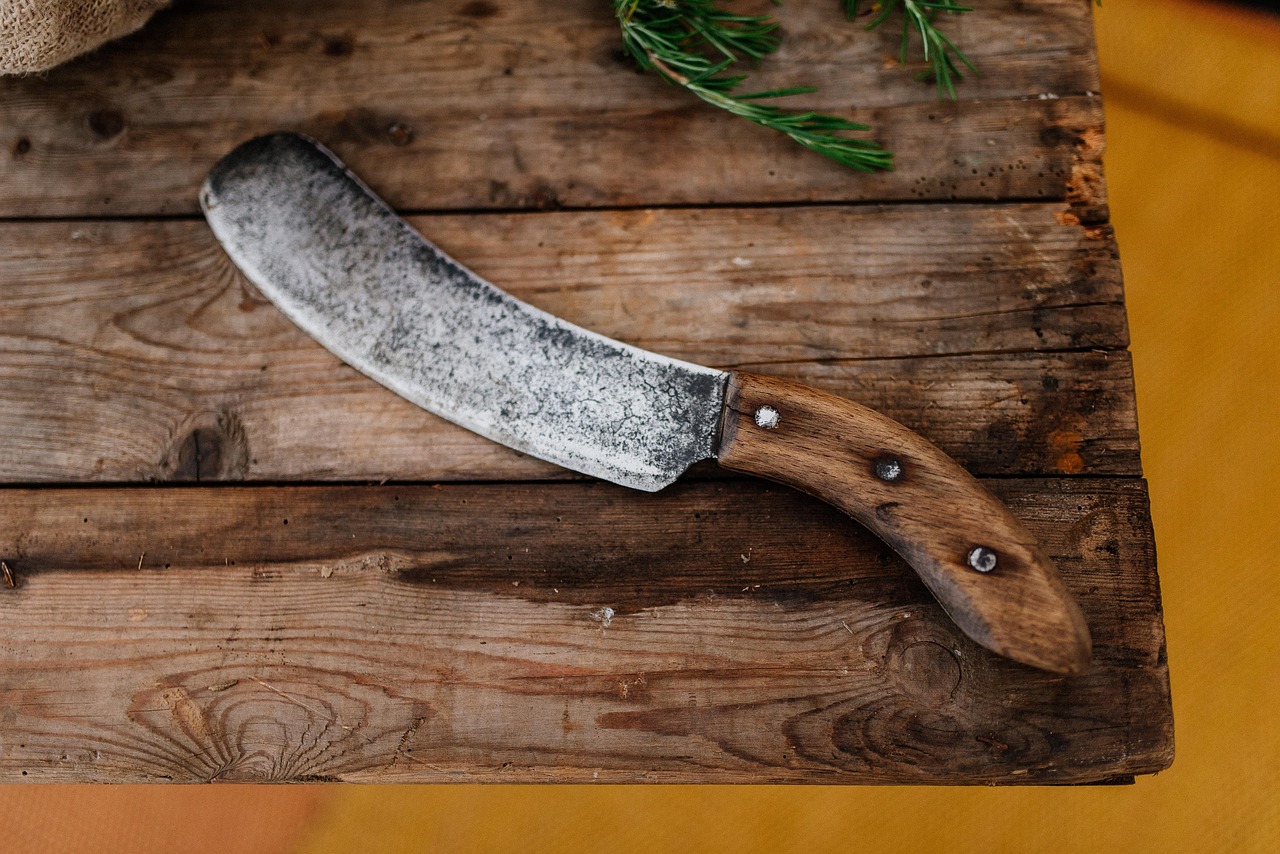
There is something deeply satisfying about cooking a meal in the woods with tools you made yourself. A wooden spoon that fits your hand, a cutting board that doubles as a serving platter, a set of chopsticks carved from a fallen branch. These are small things, but they change the way you experience a camp kitchen. They make the work feel less like a chore and more like a ritual.
Building a camp kitchen kit does not require a full woodshop. A few hand tools, a bit of patience, and a willingness to learn from mistakes will get you started. The goal is not to replace your metal cookware, but to supplement it with wooden tools that are lightweight, durable, and a pleasure to use. Wood is naturally antibacterial, gentle on non-stick surfaces, and warm to the touch, even when the air is cold.
The spoon is the classic first project. Start with a piece of green wood, ideally birch, maple, or cherry. Green wood carves more easily than dry wood, and it is less likely to split. Use a carving axe or a saw to rough out the shape, then a knife to refine it. The bowl of the spoon can be hollowed with a hook knife or a gouge. Work slowly, and remember that you can always remove more wood, but you cannot put it back.
A spatula is another good beginner project. It is essentially a flat piece of wood with a handle, shaped to fit the curve of your skillet. A simple wooden spatula is lighter than a metal one, and it will not scratch your cast iron. You can carve one in an afternoon, and it will last for years if you take care of it.
Once you have a spoon and a spatula, consider a small cutting board. A thin board made from a hardwood like maple or walnut is easy to make and incredibly useful. Cut it to fit inside your cook pot or your pack, sand it smooth, and finish it with food-safe oil. A board gives you a clean surface for chopping vegetables, slicing cheese, or serving a meal. It also protects your knife's edge, which is a nice bonus.
Finishing wooden kitchen tools is simple. Sand them progressively from coarse to fine, raise the grain with a damp cloth, and sand again. Then apply a food-safe oil, such as mineral oil, walnut oil, or a beeswax and oil blend. Let it soak in, wipe off the excess, and let it dry. Reapply the oil every few trips, or whenever the wood starts to look dry. Never soak wooden tools in water or put them in a dishwasher. A quick hand wash and a dry towel are all they need.
When you pack your kit, think about how the pieces fit together. A spoon can nest inside a pot. A cutting board can slide behind your pack's frame. A small canvas roll or a drawstring bag keeps everything organized and protects the wood from scratches. If you are paddling, keep the kit in a dry bag, because even finished wood can swell if it stays wet for too long.
The best part of a handcrafted camp kitchen is not how it looks, though it does look good. It is how it feels to use. When you stir a pot of stew with a spoon you carved by the fire, you are connected to the meal in a way that a stainless steel utensil cannot match. You remember the tree, the shavings, the quiet hours of work. You remember that you made this. And that makes the food taste better, the camp feel warmer, and the trip feel more like yours.
