Camping
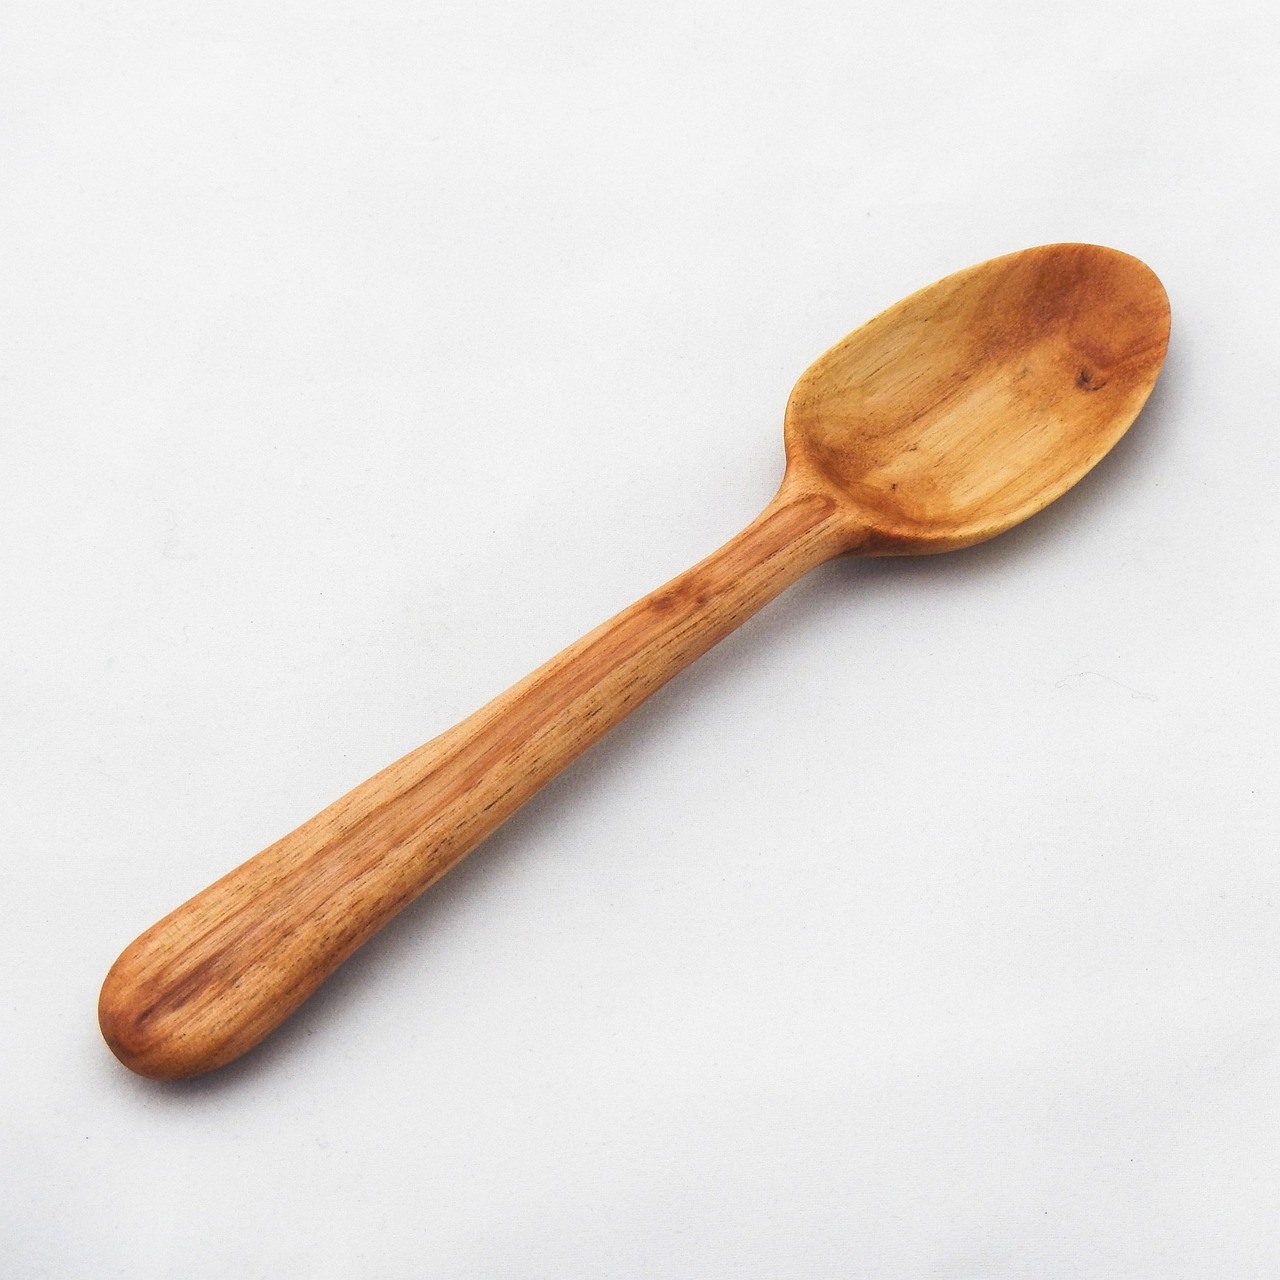
Spoon carving is the perfect camp craft. It needs almost no space, it produces something useful, and it turns a dead hour by the fire into a quiet, absorbing practice that settles the mind after a long day on the water. The tools are few: a carving knife, a small axe, and a hook or crook knife for hollowing the bowl. The material is free. A freshly fallen birch branch the width of your forearm will yield two or three spoons.
The reason green wood matters so much is that dry hardwood is brutally hard to carve by hand. Fresh-cut birch, alder, willow, and poplar cut like firm cheese, and they finish with a lovely sheen if you take your time. If you cannot get green wood, soak a dry blank in water overnight before carving. It helps more than you would expect.
Start with a straight, knot-free section of branch. Split it lengthwise with your axe and a wooden baton, or saw it in half if it is small enough. You want a piece roughly the length of your hand and about two fingers thick. Draw the spoon's outline on the flat face with a pencil or a charred stick — an oval for the bowl and a tapering handle for the stem. Remember that the bowl should be carved from the heartwood side, where the fibers are denser and less likely to split.
Rough out the shape with your axe, working on a chopping block and always cutting away from your body. Take small bites and rotate the work rather than reaching around it. The goal at this stage is not precision but silhouette. Get the outline close, then stop. The knife does the rest.
The knife work begins with what carvers call stop cuts and push cuts. For a stop cut, place the blade vertically where you want the shape to end and press it into the wood. Then carve toward that cut from either side, and the chip will pop out cleanly. Work with the grain whenever possible. When you must carve against it, take shallower passes and accept a rougher surface that you will refine later.
The hook knife is where the spoon becomes a spoon. Clamp the blank or hold it firmly against your knee. Draw the hook knife across the grain, from the rim toward the center of the bowl, taking thin shavings and rotating the spoon as you go. Never pull the blade toward your hand or your lap. If the hook knife chatters, you are taking too big a bite — ease off and let the edge do the work.
Once the bowl is hollowed to your liking, refine the outside of the bowl and the handle with the carving knife, then move to a spokeshave or a sharp knife held at a high angle to smooth the surfaces. Some carvers leave the tool marks visible and simply sand lightly with fine paper; others burnish the surface with a smooth stone or the back of a metal spoon. Either way, the final step is oil. Food-safe finishes for spoons include flaxseed oil, walnut oil, or a beeswax-and-oil blend. Apply warm, let it soak in, wipe off the excess, and repeat until the wood stops drinking.
Do not rush the drying. A green spoon will move as it dries, sometimes warping slightly. That is part of its character. Keep it out of direct heat for the first week, then oil it again. The spoon you carve on a cool evening by a lake will outlast most things you buy, and every time you stir a pot with it, you will remember the fire and the quiet and the slow work of your own hands.
